You can transform your studio into a comfortable, functional home by choosing multifunctional furniture like beds with storage and desks that double as dining tables. Create separate zones with room dividers or bookcases to define your space without cramped walls. Layer your lighting with overhead fixtures, table lamps, and wall sconces for warmth and focus. Paint walls in soft whites or creams, add mirrors to amplify brightness, and maximize vertical space with floor-to-ceiling shelves. Declutter regularly and use flexible storage systems that adapt as your needs change. These strategies work together to make your small space feel surprisingly spacious and welcoming.
Design Highlights
- Invest in multifunctional furniture like beds with storage drawers and murphy beds to serve dual purposes efficiently.
- Use zone dividers such as bookcases and fabric panels to create separate living areas without cramping the space.
- Layer lighting with overhead fixtures, lamps, and sconces to brighten areas and eliminate dark corners strategically.
- Paint walls in light colors and choose pale furniture to create an airy, spacious atmosphere visually.
- Maximize vertical storage with floor-to-ceiling shelves and wall-mounted cabinets while decluttering regularly to maintain organization.
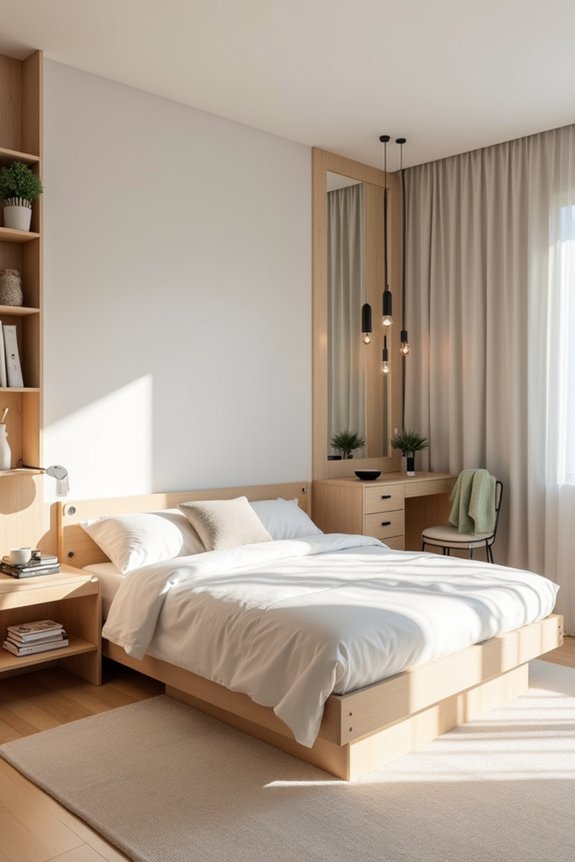
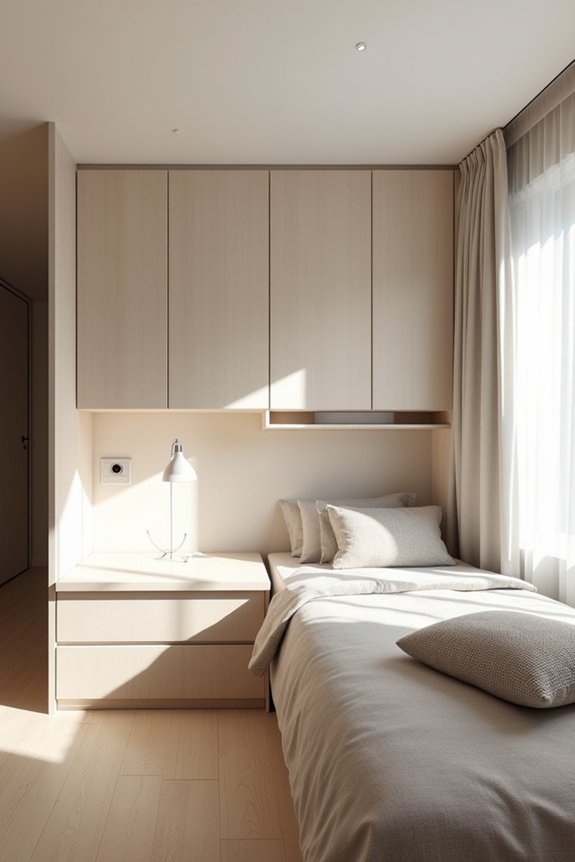
Use Multifunctional Furniture to Eliminate Wasted Space
Since studio apartments challenge you with limited square footage, you’ll want to make every piece of furniture work harder for you.
Consider a bed with built-in storage drawers underneath, giving you space for seasonal clothes and extra blankets. A desk that doubles as a dining table saves room while serving multiple purposes.
Ottoman storage cubes provide seating, a footrest, and hidden organization all in one. Wall-mounted shelves replace bulky bookcases, keeping your floor open and airy.
A murphy bed folds away during the day, transforming your bedroom into a living space. These smart choices help you create a functional, comfortable home without clutter or cramped feelings.
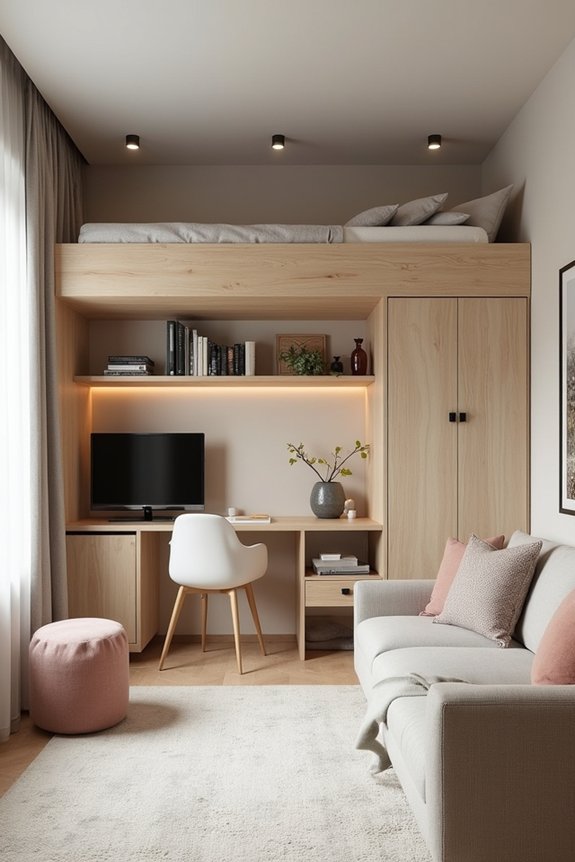
Define Zones Without Walls Using Strategic Dividers

Now that you’ve packed your studio with furniture that pulls double duty, it’s time to organize those pieces into distinct living areas.
Strategic dividers create separate zones without permanent walls, transforming your open space into intentional sections. You’ll feel more organized and purposeful in each area.
Consider these practical dividers:
- Tall bookcases that showcase décor while blocking sightlines
- Fabric room dividers on wheels for flexible rearrangement
- Hanging curtains or sheer panels that soften separations
- Low shelving units that define spaces without feeling cramped
These solutions give your studio character and functionality, making every square foot work harder for you. Pairing your dividers with customizable organizers inside shelving units and storage furniture helps maintain the clean, intentional look across your defined zones.
Light Up Your Space With Layered Lighting
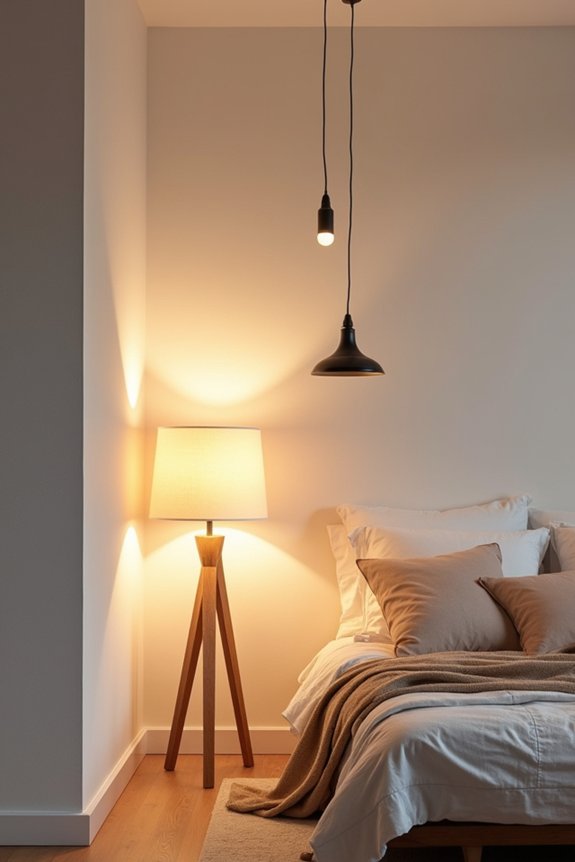
When you’ve carved out your zones with dividers, lighting becomes your next powerful tool for transforming your studio into a comfortable home.
You’ll want to layer different light sources throughout your space, combining overhead fixtures with table lamps and wall sconces. This approach lets you adjust brightness based on your mood and activities.
Warm-toned bulbs create a cozy atmosphere, while brighter lights help you focus during work. Don’t forget accent lighting—it adds depth and makes your studio feel larger.
Strategic placement of lights eliminates dark corners, making every zone feel welcoming and functional.
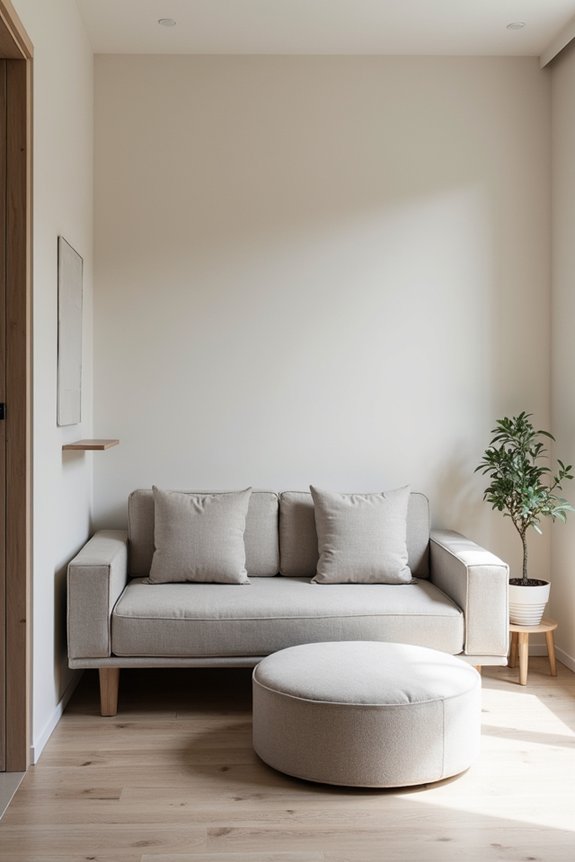
Use Light Colors to Open Up Your Layout
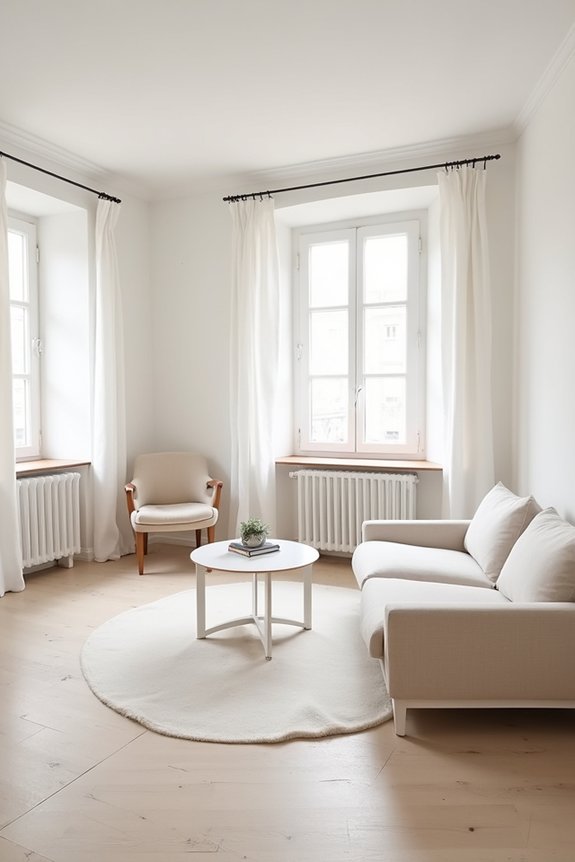
While layered lighting helps you see and feel your space better, your color choices work just as hard to make your studio feel bigger and more open.
Light colors reflect natural light throughout your apartment, creating an airy atmosphere that transforms cramped quarters into welcoming rooms.
- Paint walls soft white, cream, or pale gray to brighten your entire studio
- Choose light-colored furniture that doesn’t visually anchor your space
- Use pastel throw pillows and blankets for warmth without darkening rooms
- Add mirrors with light frames to amplify brightness and create depth
You’ll love how these simple choices expand your sanctuary.
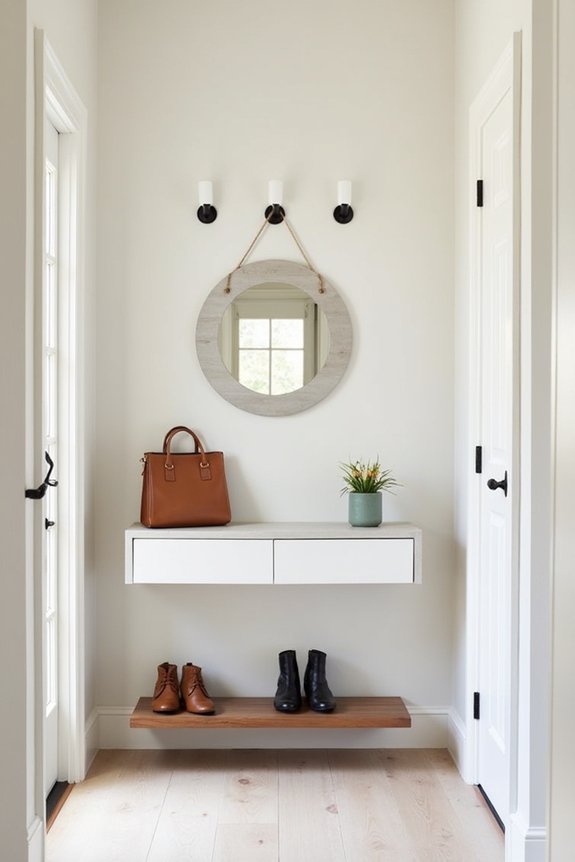
Pick Vertical Storage to Free Up Floor Space
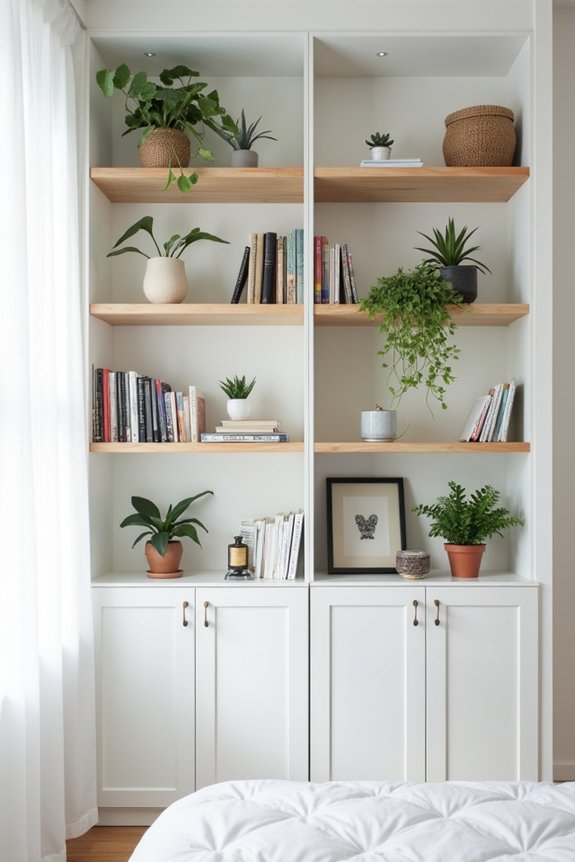
Once you’ve brightened your studio with light colors and mirrors, it’s time to tackle another space-maker: storage.
Think vertical! Your walls hold incredible potential. Install shelves from floor to ceiling, hang pegboards for organizing tools and supplies, and use wall-mounted cabinets for items you don’t access daily. Tall, narrow bookcases work wonderfully in corners, maximizing unused space.
Over-the-door organizers provide sneaky storage too. By drawing eyes upward rather than outward, vertical storage creates an illusion of spaciousness.
You’ll keep your floor clear, making your studio feel larger, airier, and more livable while keeping everything accessible and organized. Consider using clear, stackable bins on your shelves to maximize visibility and vertical space efficiency.
Remove Clutter to Gain Breathing Room

As you’ve created smart storage solutions, you’re ready for the next important step: getting rid of things you don’t really need.
Decluttering transforms your studio into a welcoming sanctuary. You’ll breathe easier when you’re surrounded by items that truly matter. Start by examining each possession honestly—does it serve you now?
Consider these categories:
- Duplicate items you rarely use
- Clothing that doesn’t fit or suit you
- Broken things you’ve meant to fix
- Gifts you don’t genuinely love
Removing unnecessary belongings instantly opens your space. You’ll feel lighter, calmer, and more in control.
This simple act creates genuine breathing room, making your studio feel larger and more inviting.
Build Flexible Organization That Grows With You
Your studio’s organization system needs to adapt as your life changes, and that’s exactly what makes flexible storage so powerful.
You’ll want to invest in modular shelving units, stackable bins, and furniture pieces that serve multiple purposes. These adaptable solutions grow alongside your needs, whether you’re adding hobbies, collections, or simply shifting how you live.
Consider clear containers so you’ll easily see what’s inside, and label everything for quick access. Adjustable shelves let you reconfigure spaces as necessary. Floating shelves with hidden brackets offer a clean aesthetic while maximizing vertical wall space in compact studios.
This approach transforms your studio into a responsive home that evolves with you, keeping your space organized and functional without feeling restrictive or permanent.
Frequently Asked Questions
What Is the Ideal Square Footage for a Comfortable Studio Apartment?
You’ll find that 400-600 square feet offers you the most comfort in a studio apartment. This size gives you enough room for a sleeping area, kitchen, bathroom, and living space without feeling cramped or overwhelming to maintain.
How Can I Reduce Noise in a Studio Apartment With Thin Walls?
You’ll want to weave weatherproof, wall-mounted materials into your space. Add acoustic panels, plush rugs, and heavy curtains. Install door sweeps, use white noise machines, and position furniture strategically to absorb sound effectively.
What Are the Best Window Treatments for Studio Apartment Privacy?
You’ll want blackout curtains for complete privacy and light control. Consider cellular shades or Roman shades that stack neatly. Frosted window film works great too. Layer treatments for maximum privacy without sacrificing natural light and style.
How Do I Choose the Right Studio Apartment Location for My Lifestyle?
Like a compass guiding you home, you’ll prioritize your lifestyle needs first. Consider your commute, nearby amenities, noise levels, and walkability. You’ll evaluate your budget, neighborhood vibe, and access to entertainment or nature that matches your daily routine.
What Budget Should I Allocate for Studio Apartment Furniture and Decor?
You should allocate 20-30% of your total apartment budget for furniture and decor. Prioritize essential pieces first—bed, seating, storage—then add accessories gradually. You’ll save money by shopping secondhand and choosing multi-functional items.