You can create stunning picture frames using materials you’ve got at home. Try painting cardboard boxes for a budget-friendly option, or grab reclaimed wood for rustic charm. Washi tape lets you design geometric borders with colorful flair, while fabric wrapping adds cozy texture. For a modern touch, layer photos between glass sheets with spacers for a floating effect. Each project takes just an afternoon and transforms your space while reflecting your unique style—discover exactly how to bring each one to life.
Design Highlights
- Paint cardboard boxes with a window cutout in just an afternoon for a personalized budget-friendly frame.
- Repurpose old fence wood or furniture with nails and glue to create rustic, durable frames.
- Layer colorful washi tape on plain frames to design quick geometric borders with dimension.
- Wrap frames with linen, cotton, or felt fabric and layer for textured visual interest.
- Stack two glass sheets with spacers to suspend photos and achieve a modern floating effect.
Painted Cardboard Mat Frame on a Budget
Creating a beautiful frame doesn’t require spending lots of money, and here’s why: a painted cardboard mat frame gives you a stylish, personalized look without straining your wallet.
You’ll start by collecting cardboard from boxes, then carefully cutting a window for your photo. Next, you’ll paint the mat with colors that match your home’s décor, letting your creativity shine through.
This project takes just an afternoon, and you’ll feel proud displaying your finished frame. The best part? You’re creating something unique that reflects your personality, making your space truly feel like home.
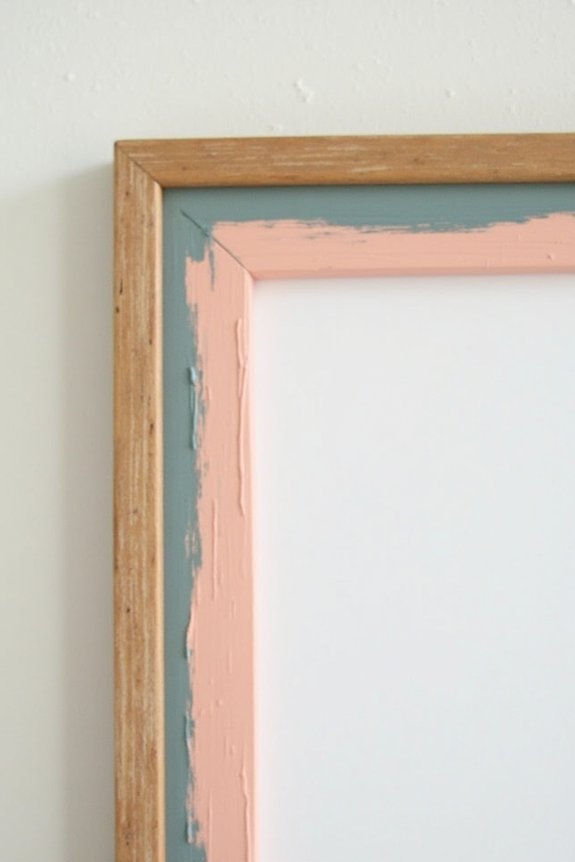
Rustic Wood Frame With Reclaimed Materials
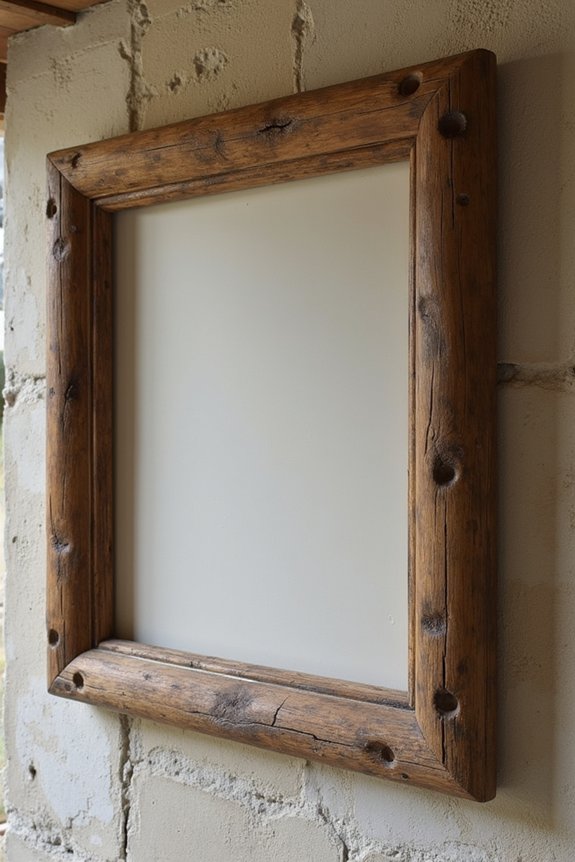
If you’ve got old wood lying around—maybe from a fence, barn, or abandoned furniture—you’re sitting on the perfect frame project.
Gather your materials: reclaimed wood pieces, nails, wood glue, and sandpaper. Cut your wood to create four frame sides, then sand everything smooth so splinters won’t catch your skin.
Apply wood glue to corners and secure with nails for durability. You can stain or paint your frame, or leave it natural for authentic rustic charm.
This approach transforms forgotten wood into something beautiful while reducing waste. Your finished frame’ll showcase your favorite photo with genuine character and warmth.
Washi Tape Frame With Geometric Borders
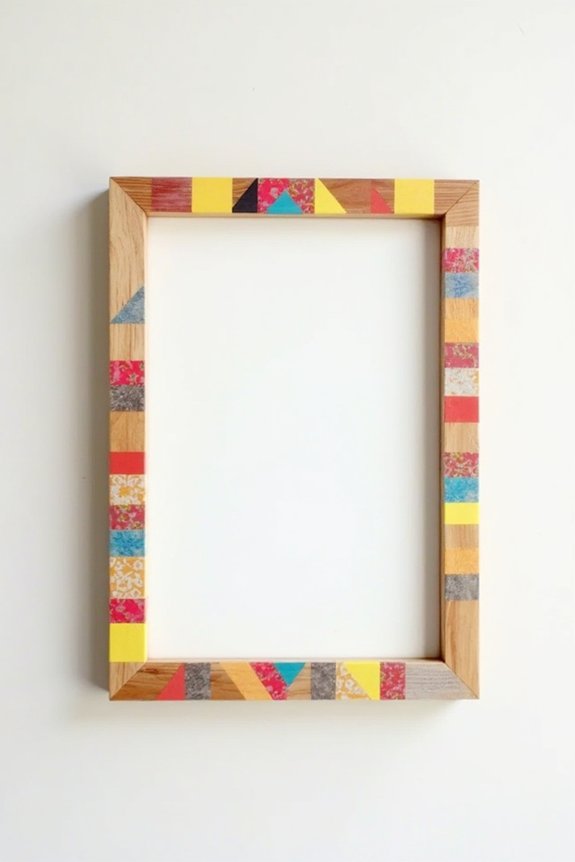
Why settle for a plain frame when you can design one that’s bursting with color and personality? Washi tape frames offer you an exciting way to transform any picture frame with geometric borders.
Start by choosing a plain wooden or cardboard frame, then select washi tapes in colors and patterns you love. Carefully apply the tape along the frame’s edges, creating clean lines and interesting geometric shapes like triangles, stripes, or chevrons.
You can layer different tapes for depth and dimension. This project takes just minutes, costs very little, and lets your creativity shine while protecting your cherished memories beautifully. Like eco-friendly materials used in home décor, washi tape offers a sustainable way to refresh your frames without waste.
Fabric-Wrapped Frame for Soft, Textured Appeal
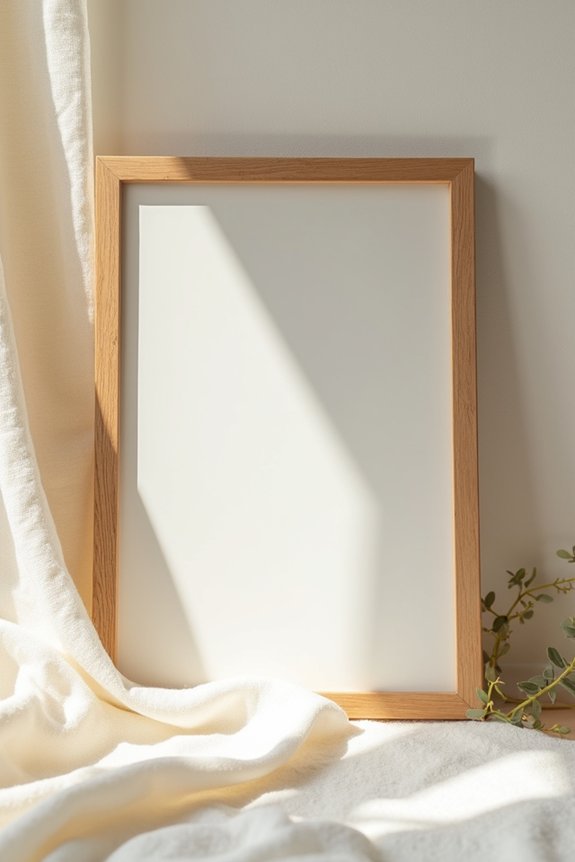
While washi tape brings bold geometric patterns to your frames, fabric offers something entirely different—a cozy, touchable quality that makes your display feel warm and inviting.
You’ll wrap your chosen fabric around wooden frames, creating soft textures that complement any room’s style. Select materials like linen, cotton, or felt that match your décor perfectly.
Simply measure your frame’s dimensions, cut the fabric slightly larger, then secure it using fabric glue or a hot glue gun. You can layer different fabrics for added dimension and visual interest.
This approach transforms ordinary frames into personalized treasures that friends and family will genuinely admire and appreciate. These fabric-wrapped frames work beautifully as part of your winter outside decor displays, adding warmth and elegance to outdoor spaces during the colder months.
Floating Glass Frame With Spacers
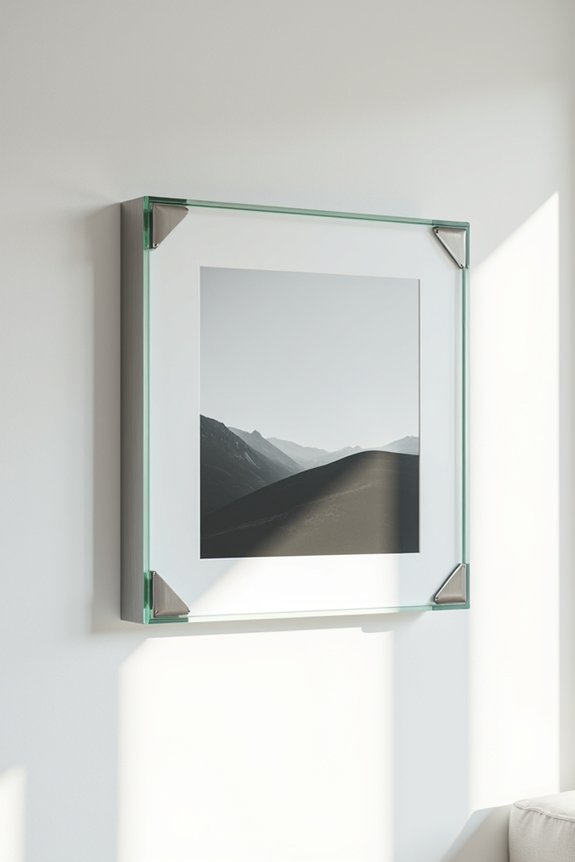
For a truly modern display that’ll make your photos seem to float right off the wall, you’ll want to try a floating glass frame with spacers.
This stunning design creates depth and visual interest in any room.
Here’s what you’ll need:
- Two pieces of clear glass or acrylic cut to size
- Small wooden or metal spacers to separate the panes
- Your favorite photograph positioned between the glass sheets
The spacers hold your photo suspended in the middle, creating an impressive three-dimensional effect.
You’ll love how light passes through, highlighting your cherished memories beautifully.
This project’s straightforward assembly makes it perfect for beginners, yet it delivers professional-looking results that’ll impress everyone who sees it.
Frequently Asked Questions
How Do I Safely Display Valuable or Irreplaceable Photographs in DIY Frames?
You’ll protect your precious photographs like guarded treasures by using acid-free materials, UV-protective glass, and archival mats. You’d mount prints with conservation-grade adhesives, avoid direct sunlight, and maintain consistent humidity levels in your display space.
What Tools and Materials Do Beginners Need to Start Making Custom Frames?
You’ll need a saw, miter box, measuring tape, wood glue, and clamps. Grab sandpaper, finishing nails, glass or acrylic sheets, backing board, and hanging hardware. You’ve got everything required for professional-looking frames.
How Long Do DIY Picture Frames Typically Last Before Needing Replacement?
Your DIY frames’ll last 5-10 years with proper care. You’ll extend their lifespan by using quality materials, protecting them from moisture and direct sunlight, and maintaining the frame structure regularly throughout time.
Can I Use These Frame Ideas for Non-Standard or Oddly-Shaped Photographs?
You can absolutely adapt DIY frames for odd shapes. You’ll cut matting to fit triangles, circles, hexagons. You’ll customize backing boards. You’ll adjust frame dimensions accordingly. Your creativity determines what photographs you’ll showcase beautifully.
What’s the Best Way to Hang Homemade Frames Securely on Different Wall Types?
You’ll want to use wall anchors for drywall, masonry screws for concrete, and toggle bolts for hollow walls. You should always measure twice, drill pilot holes, and verify your frame’s weight doesn’t exceed your hardware’s rating.